
On This Page
- If You’re a Learner (Student)
- If You’re a Group Leader
- The Group Management Console
- Adding Branding to Your Group
- Adding Additional Seats to Your Group
If You’re a Learner (Student)…
You’ll receive an email with your login information.
To log on, visit this link.
Your username is probably your email address. The first time you log on, you must reset your password.
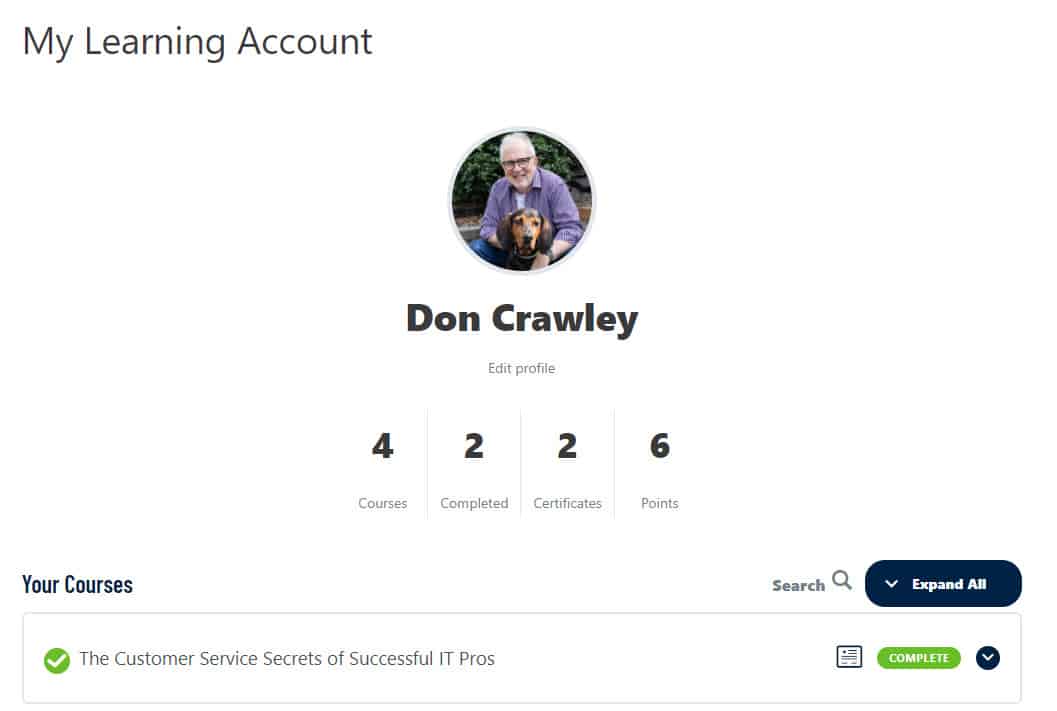
When you log in, you’ll be automatically directed to your My Account page. On that page, you’ll be able to monitor your course progress and see the courses in which you’re enrolled. (Depending on your browser setting, you may need to scroll down to see your courses.)
Click on a course to expand it, then click on the first section to start the course.
If You’re a Group Leader…
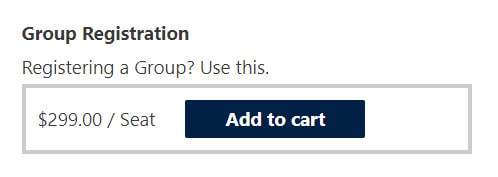
Choose group registration if there will be multiple learners from the same organization and you want the ability to monitor learners’ course progress and manage the group, including adding new users.
When you choose Group Registration, you become the group leader and you can monitor learners’ course progress and add new learners to your group.
To register as a Group Leader, click on the button Add to cart button under Group Registration.
Note: It is not necessary to add users immediately when you set up the group. We recommend that you wait until you’re ready for your learners to start the course to add them to your group.
After you click on Add to cart, you’ll be taken to the Cart page. Here you enter the number of people in your group for whom you wish to purchase seats. If you are eligible for a multi-seat discount, it will be calculated for you automatically. Click on Update cart and notice toward the bottom of the page you can see your subtotal, your coupon savings, and your new total.
Click on Proceed to checkout.
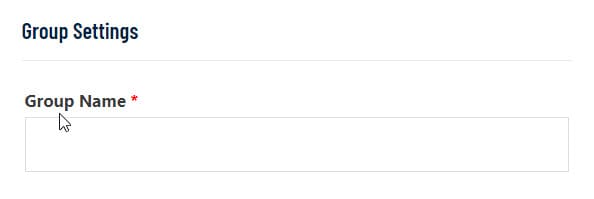
On the Checkout page, you’ll find the usual requests for name, company name, address, and credit card info. Additionally, at the very bottom of the page, under Group Settings, you’ll find a field where you must enter your Group Name. Choose an appropriate name for your group, bearing in mind that all group members and system admins will be able to see it.
Click Place order.
Note: As mentioned above, it is not necessary to add users immediately when you set up the group. We recommend that you wait until you’re ready for your learners to start the course to add them to your group. Also, some organizations add team leaders and supervisors before adding the rest of the team.
The Group Management Console
After you place your order, you will have access to the Group Management page. It’s available under My Stuff>Group Management. You can also go there directly at compassionategeek.com/group-management. In the Group Management console, you can perform various tasks, including:
- View the name of your group
- View the Group Courses
- Add additional seats
- Add new members
- Add one
- Add multiple
- Upload Users
- Download Keys
- View Enrolled Users
- View Reports, including Monitoring learner progress
- Course
- Quiz
- Assignments (not currently in use)
- Essays (not currently in use)
- View Group Leaders
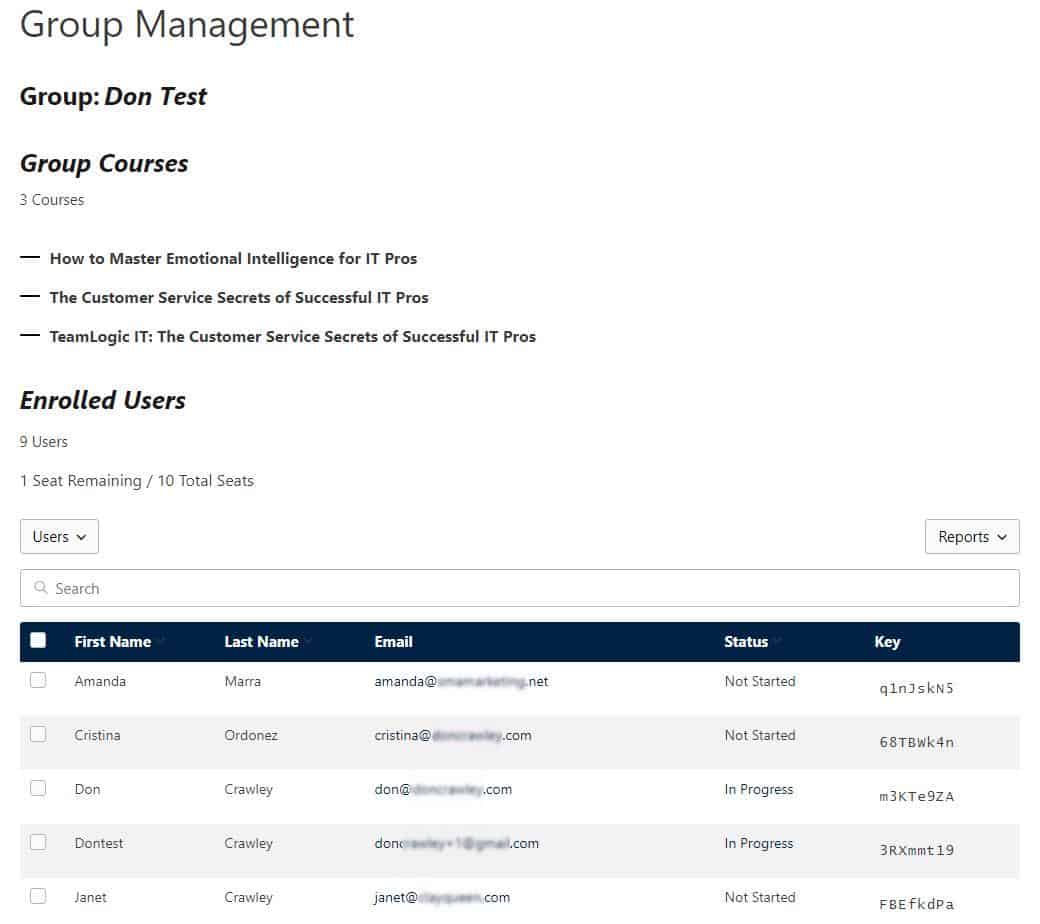
When you first log on to your Group Management console, take a moment to look at the information on display. Also, click on the Users and Reports buttons to see the available options.
When you click on the Users button, you’ll see a menu with four options: Add one, Add multiple, Upload users, Download keys.
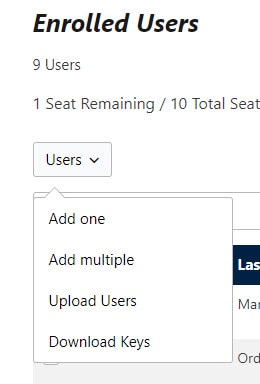
Add one
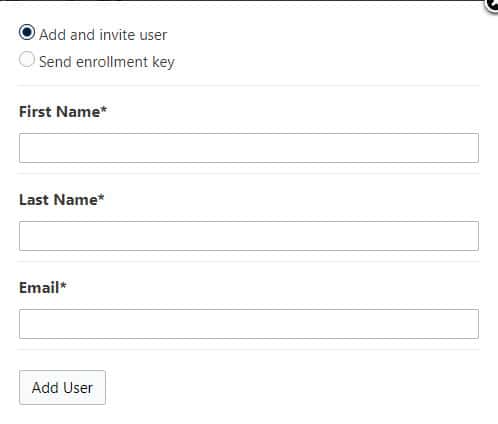
This option allows you to add a single user. You can either enter all their information yourself and add them or send them an enrollment key which they can use to register themselves and enter all their information. In either case, you can see the users in the Group Management console.
Add multiple
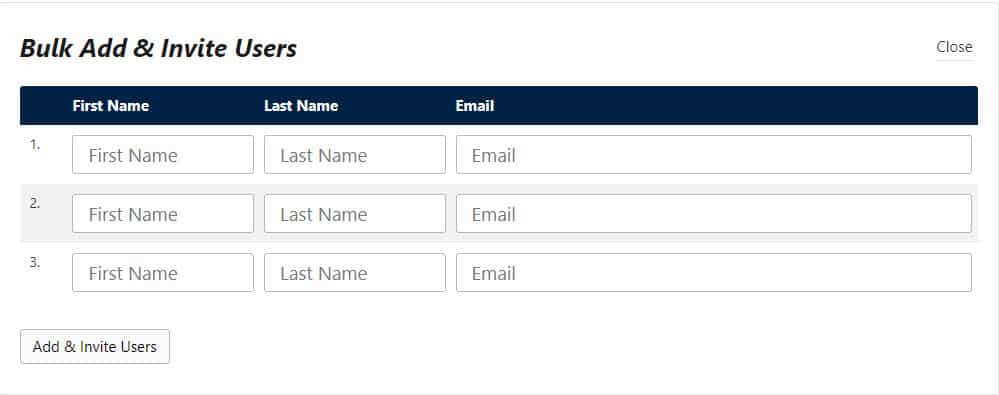
With the Add multiple option, you are given the option to add additional users, based on the number of seats remaining.
Upload Users
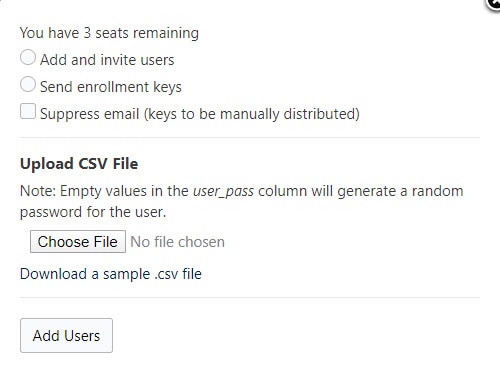
With the Upload Users option, you’ll see how many seats you have remaining. You can Add and invite users or Send enrollment keys. This is handy, obviously, when you have many users to add. If you choose to use this option, be sure to download a sample .csv file at the link in the form.
Tip from the developer: CSV files created and saved from some versions of MS Excel for Windows can sometimes add special characters that prevent the file from being uploaded. Platforms like Google Sheets work well with the bulk upload function and tend to avoid formatting issues found with various spreadsheet programs.
Download Keys
With this option, group leaders can download all available enrollment keys in a CSV (comma-separated-values) file to your computer. You can then distribute individual or multiple keys to allow users to enroll themselves in the course. Users should be instructed to go to https://compassionategeek.com/group-registration-page/ to register for the course using the enrollment key. Each key can be used only one time and each use takes one seat from your allotment.
The user will be automatically added to the group from where the enrollment key was downloaded.
Adding Branding to Your Group
Upon request, you can also personalize the portal by adding your logo to section headers in the training. Just send a large (at least 300 pixels wide) logo to support@compassionategeek.com with your request and we’ll take care of it within 24 hours.
Adding Additional Seats to Your Group
If You Set Up Your Group Account Yourself…
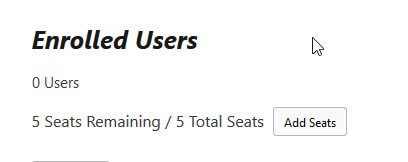
If you set up your group account yourself, you’ll have an option on the Group Management page to add more seats. Click the Add Seats button and a page will open where you can purchase additional seats.
If We Set Up Your Group Account for You…
If we set up your group account for you, just send us an email with the requested number of seats. We’ll invoice you for the correct amount and set it up for you.
